Graphics and Shading
Graphics and shading are pivotal for a good gaming experience.
For new Unity developers, understanding the basics of shading techniques and their implementation can elevate a game’s visual appeal significantly.
In this article, we will explore key concepts in Unity’s shading, including Shaderlab, HLSL, Shader Graph, and in-built Unity shaders. We’ll also explore hwo these pieces each contribute to the overall graphics of your game.
Shading Techniques
Shading is the process of simulating light and color on the surfaces of objects.
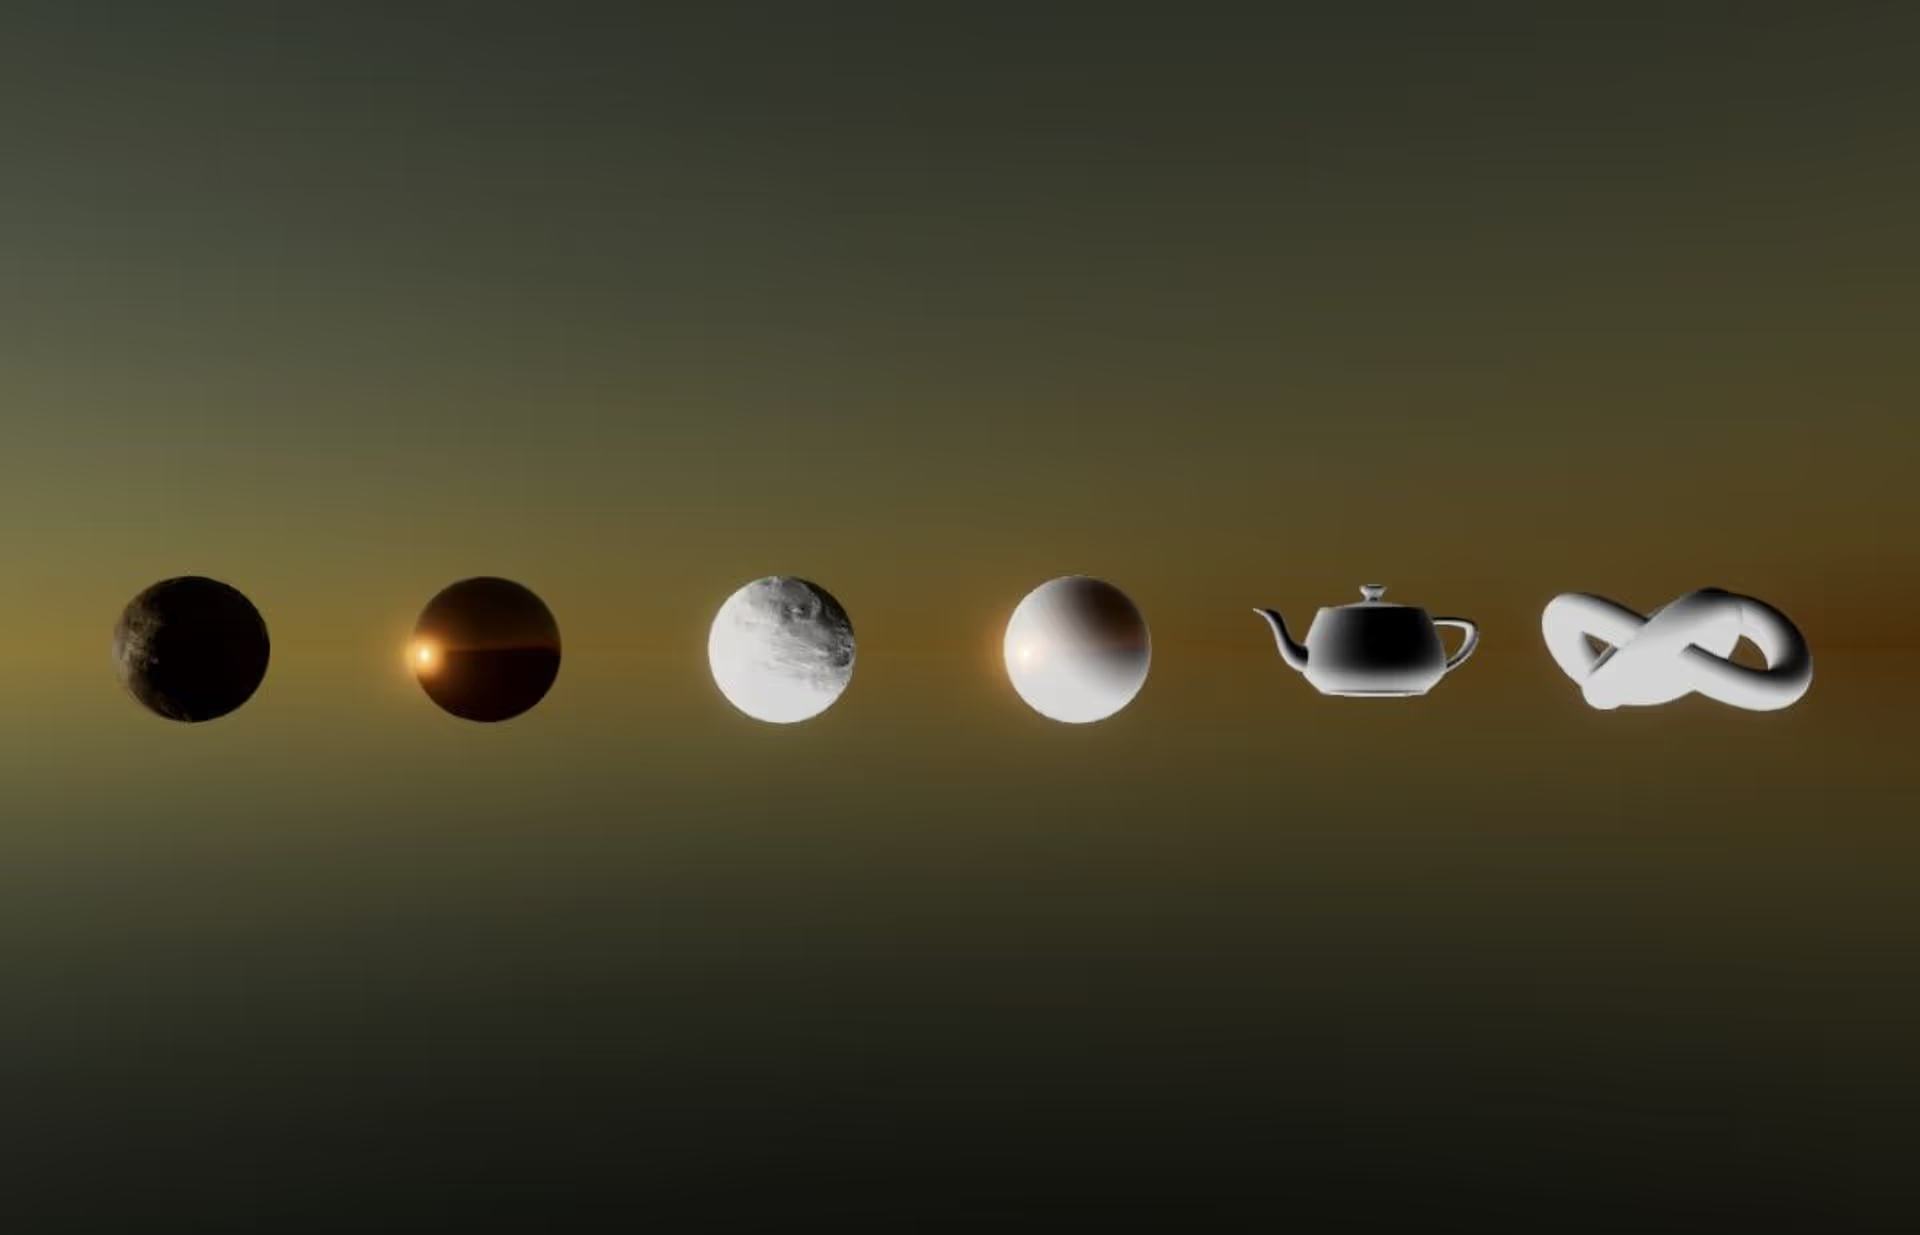
In Unity, shading techniques range from simple flat shading, which gives a uniform color to a surface, to complex physically-based rendering (PBR) that simulates realistic light interactions. These are further refined by properties like Albedo, Smoothness, Metallic values and more.
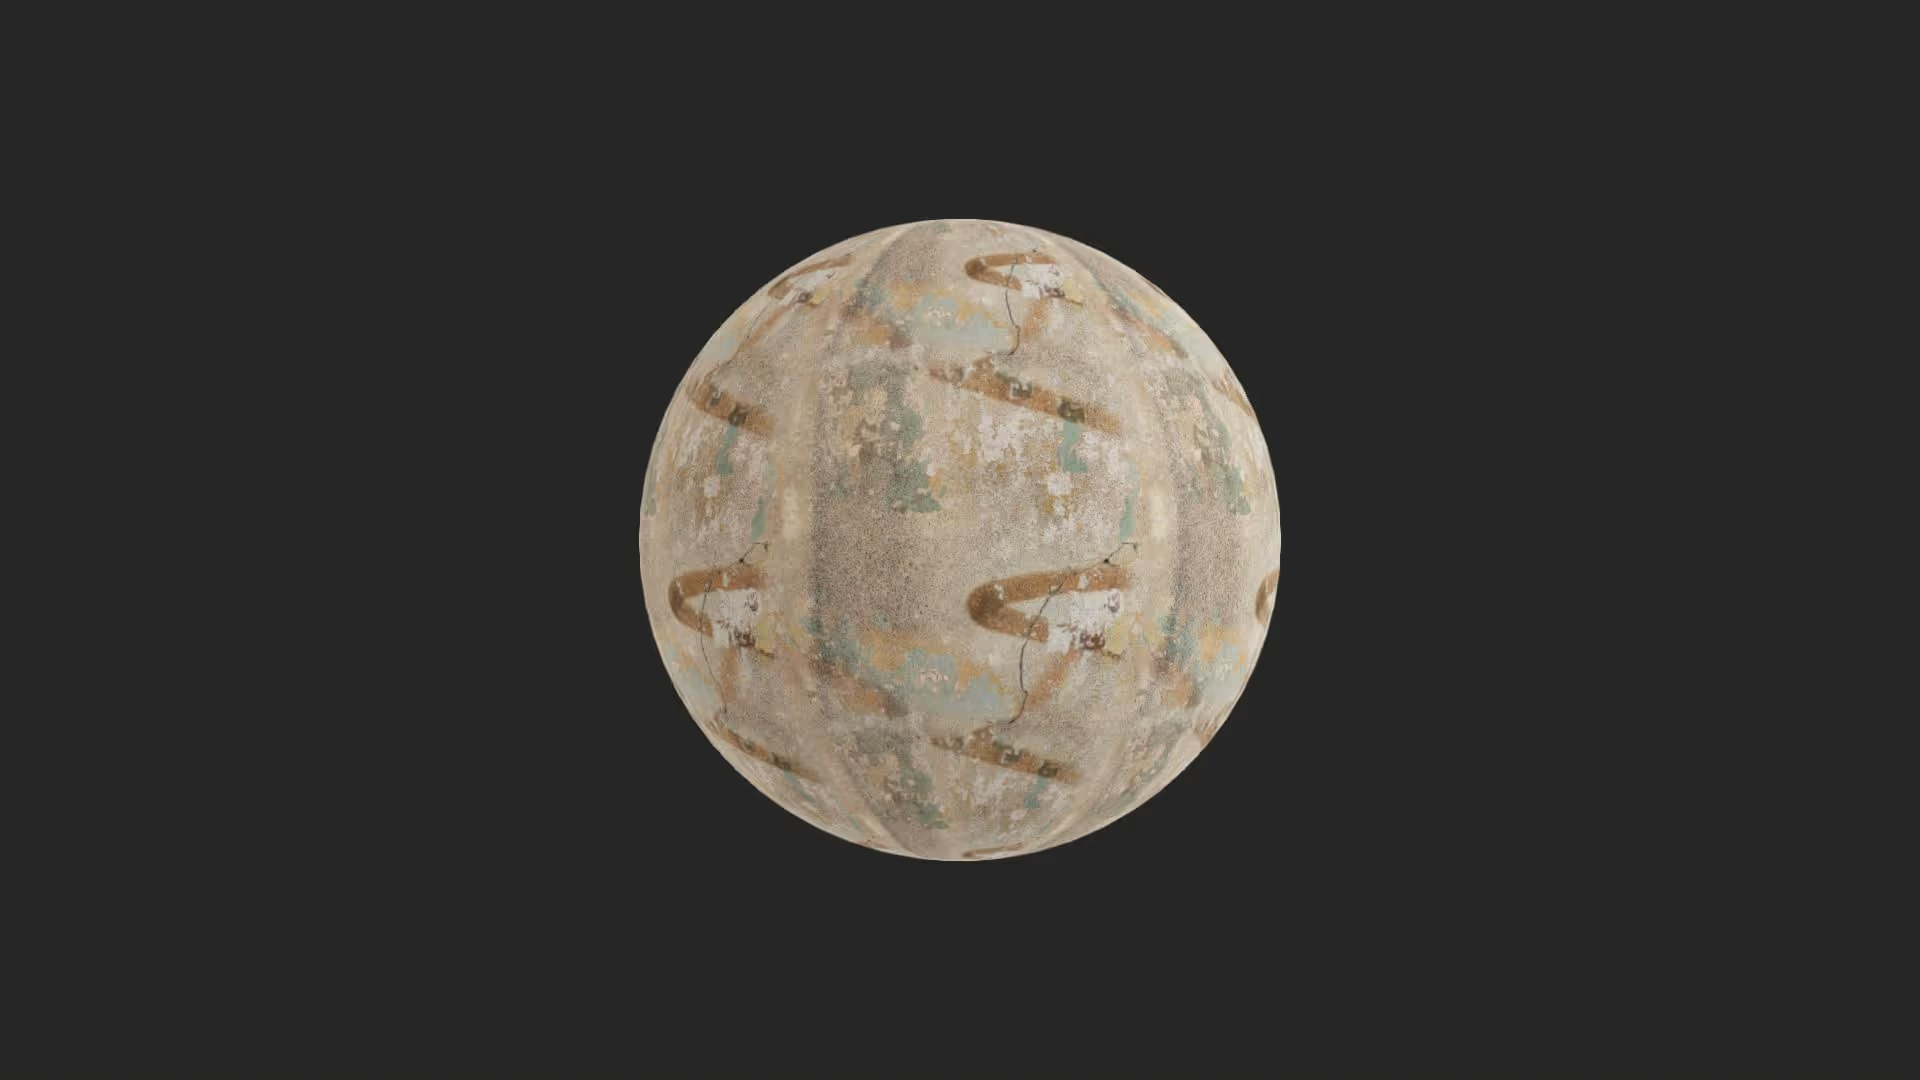
To properly shade a material, you will need PBR textures
Shading enables you to use math to describe how a surface should look. This is a broad definition, so we’ll briefly break it down with a few examples.
Unlit: Your shader can tell the surface to ignore all lighting information. For example, you can say that you always want your surface to be pure red.
Simple Lit: Your shader can use a simplified portrayal of the world to explain how lighting should affect the surface. For example, you can say that you want your surface to be bright when facing the sun, and dark when facing away from the sun. You might be thinking: that’s all we need. But, this lighting model ignores ambient lighting from the environment and additional lighting from other lights in your game.
Complex Lit: You can write advanced shaders that simulate physically-based light scattering. For example, you can say that you want thin surfaces to realistically allow light to bleed through from behind. Or, you can simulate multi-layered surfaces that have additional coatings.
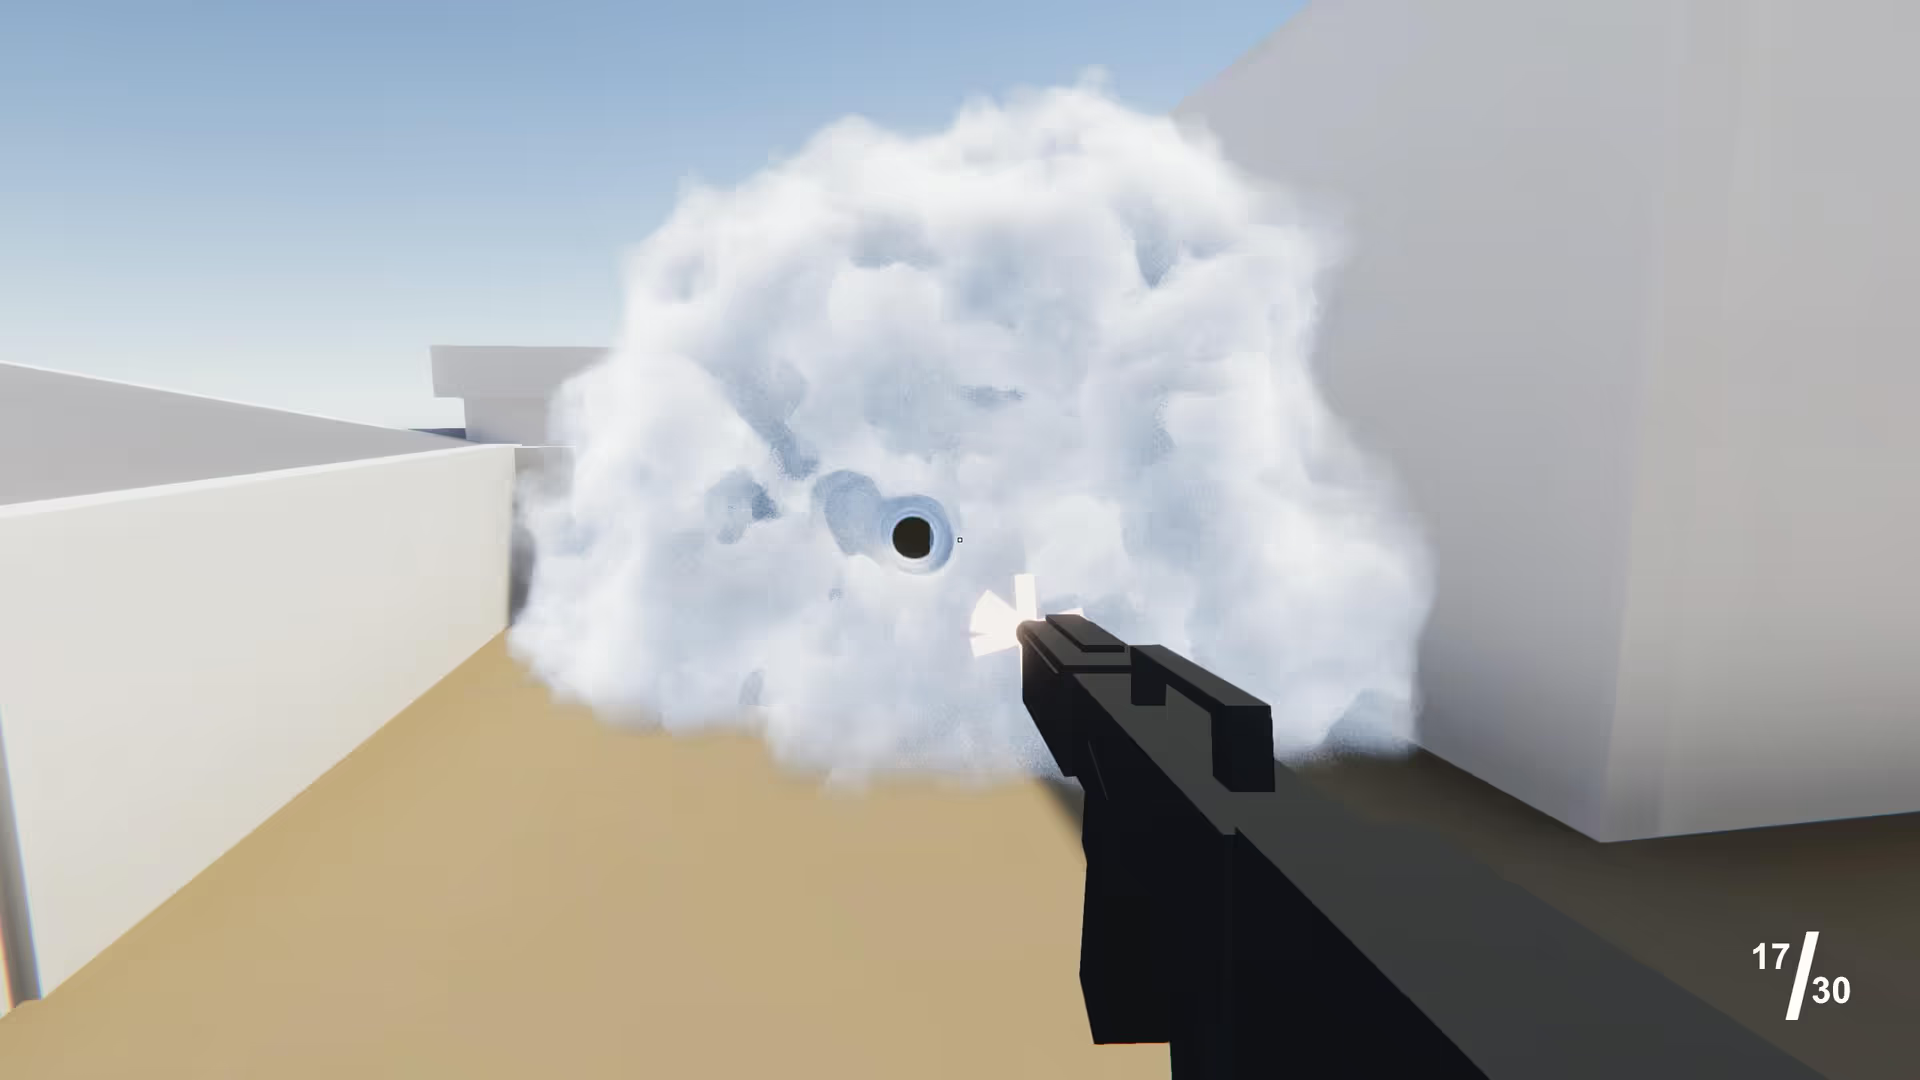
Volumetric: You can also write highly complex shaders that simulate physically-based volumetric materials like volumetric clouds, volumetric fog, water, smoke, atmospheres, and so on. These are among the most complex and expensive effects in games.
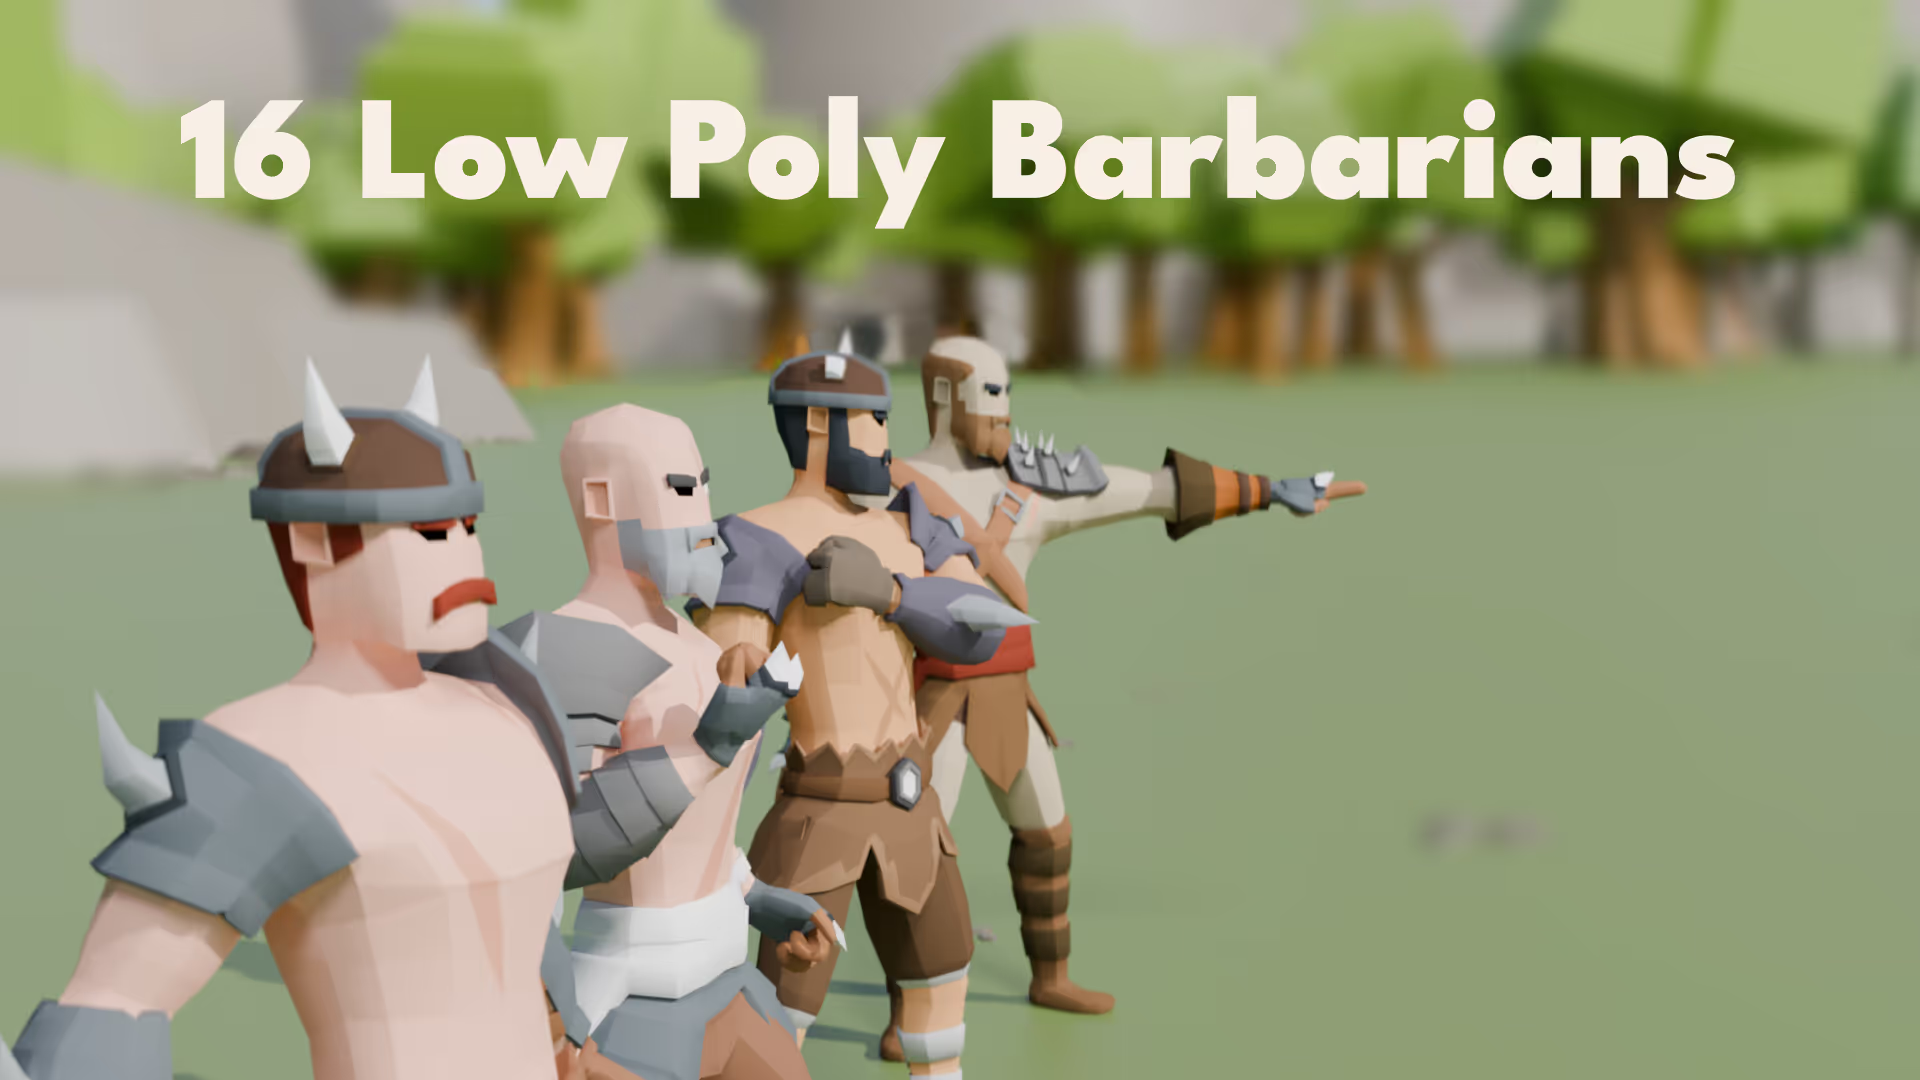
Apart from these main categories of shading, you’re also able to use the shader program to create illustrative or creative art styles outside of straightforward realistic rendering. For example, you can use a cel shading lighting model to make surfaces appear as if they were drawn by hand using a cel shading technique.
In addition, you can use a shader to implement custom texturing techniques such as triplanar mapping.
As you can imagine, shading is an extremely complex topic, so we won’t go into complete detail on every piece of the puzzle here. For now, it’s enought that you are aware of two key things:
- Shaders enable you to describe how a surface looks using math.
- Shaders unlock the ability to render both realistic and non-realistic rendering styles.
Unity uses Shaders to apply these shading techniques on to the game objects. Before you get into how to create a custom shader, you need to learn more about Shaderlab, HLSL and shader graphs.
Shaderlab, HLSL, and Shader Graph
Shaderlab is Unity’s own shading language, used to write shaders in a straightforward way. HLSL (High-Level Shading Language) is a more complex, low-level language for writing shaders, offering greater control and flexibility. Shader Graph, on the other hand, is a visual tool that allows non-programmers to build shaders by connecting nodes.
Creating a Shader using Shaderlab and HLSL is like learning a new programming language but shader graphs are much easier to learn and are preferred by most.
In Unity, we normally recommend everyone use URP, which is the best all-around render pipeline for Unity. If you’re on the fence about whether you should upgrade to Unity Pro, learn how to compare Unity Free vs. Pro.
Specific shaders like Toon, Grass, Outline, Water, Wireframe, and Cavity
There are some common types of shaders that you can use in your project based on the render pipeline you are using. These can be added using the Package Manager or from the Unity Store. Let’s look at the use cases of these shaders.
- Toon Shader: Ideal for creating cartoon-like aesthetics, the Toon shader simplifies and exaggerates light and shadow to mimic the style of Japanese Anime.
- Grass Shader: This shader simulates realistic grass, swaying in the wind, and is essential for outdoor environments.
- Outline Shader: Used to highlight or outline objects, this shader is helpful in creating visual focus or comic-book styles.
- Water Shader: As the name suggests, its use to create a water effect. Water shaders add realism and dynamics to water bodies in the game.
- Wireframe Shader: This shader is primarily used for debugging or artistic purposes, rendering objects in a skeletal, wireframe view similar to the ones found in 3D modeling software.
- Cavity Shader: It enhances the depth and details of textures, often used for emphasizing creases and recesses on surfaces.
📄 Resources:
How Shaders Contribute to Graphics
Shaders are the backbone of any 3D game graphics. They define how objects look under various lighting conditions and perspectives, directly impacting the game’s visual style and immersion. For instance, a PBR shader can make materials appear lifelike, while a Toon shader can transport the player into a comic book world.
The process of displaying a 3D object on the screen in a game engine like Unity involves several steps. The typical workflow of a graphics rendering looks like this:
Texture > Material > Shader > Rendered Object > Final Display
📄 Resources:
Conclusion
For new Unity developers, learning shaders is a journey of both technical skill and artistic exploration. That’s why people developing shaders are called technical artists.
Even though creating a custom shader is a difficult task, by understanding and utilizing different shading techniques and shaders, you can significantly enhance the visual quality and is worth the effort.
.avif)
.avif)
.avif)


.avif)
.avif)
