Introduction to Post-Processing Effects in Unity
Unity supports various visual effects to enhance the overall visual ambiance and depth of your game. These visual effects are part of the post-processing stack in Unity. This article will delve into the post-processing stack in Unity and how you can use its effects in your game projects.
Unity’s Post-processing stack
The Unity’s post-processing stack is rich in various visual effects you can apply to the camera’s output before it is displayed on the screen.
The stack includes a large number of cinematography effects. However, be aware that the Post-Processing Stack only works on Unity’s Built-In Render Pipeline.
Unity also offers Post-Processing on the Universal Render Pipeline and High Definition Render Pipeline via the Volume Framework.
The best solution for Post-Processing Effects in Unity’s Universal Render Pipeline is OccaSoftware’s cinematography suite. These post-processing effects work perfectly with Unity and offer a more unique visual style than you would get with Unity’s post-processing alone.
Examples of Post-Processing Effects
- Ambient Occlusion: for darkening areas in your scene.
- Anti-aliasing: for softening edges in your scene.
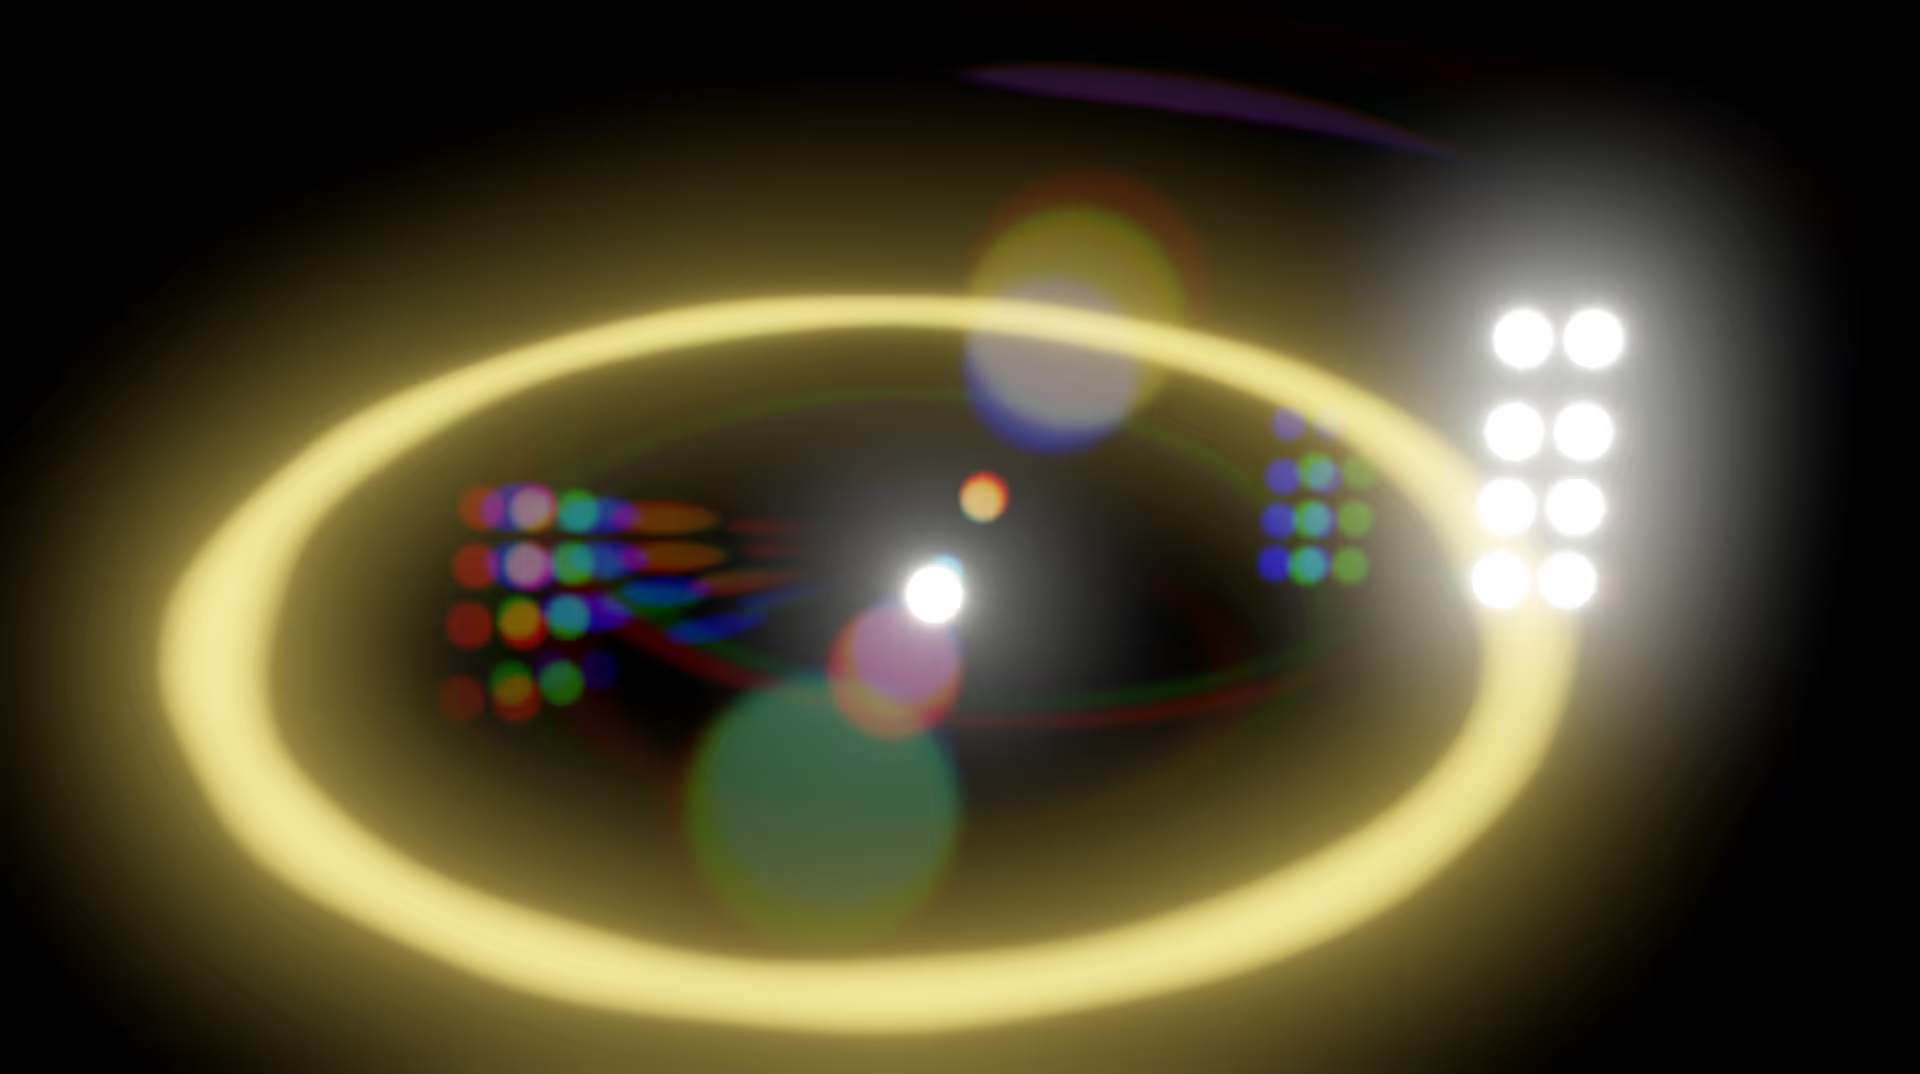
- Bloom: for enhancing brightness in your scene
- Color Curves: for tweaking the hue, saturation, and luminosity of the lighting in your scenes.
- Depth of Field: for blurring the background of images and objects out of focus
- Fog: for simulating extreme weather conditions like mist and fog in your scenes.
- Motion Blur: for making fast-moving objects appear blurred.
- Screen Space Reflection: for rendering subtle reflections in your scenes.
- White Balance: for focusing the white parts in your scene.
Other effects include Vignette, Tonemapping, Split Toning, Shadows Midtones Highlights, Lens Distortion, Auto Exposure, Color Adjustments, etc.
📄 Resources:
How to use the post-processing effects in Unity
First, using the post-processing effects depends on the render pipeline you are using. The built-in render pipeline does not have the post-processing stack by default, you have to download the package.
However, with the Universal Render Pipeline (URP) and the High Definition Render Pipeline (HDRP), a post-processing stack is included.
Check out Unity’s documentation on Render Pipelines for more information on render pipelines.
To implement the post-processing stack in the Built-In Render Pipeline in Unity:
Click Window > Package Manager.
Search for Post-Processing.
Click Install.
Then, you have to create a new post-processing profile asset by right-clicking in your Project window, clicking Create, and then Post-process Volume Profile. This will enable you to add post-processing effects to your scene.
- Next, add a post-process volume to your scene. Go to Rendering, then click on Post-process Volume. You can add this Post Process Volume to any GameObject, as well as the Main Camera GameObject. This component is empty by default. Post-process also comes with properties like Blend Distance, Weight, Priority, and Profile you can tweak as you want.
- Next, assign the post-processing profile you created earlier to the post-process volume.
- Now, you can start adding and applying post-processing effects. Just select the effect you want to add and click on the Add Effect button. Modify the settings and properties of the properties to achieve your desired taste.
- Continuously iterate until you achieve your desired result.
Check out this resource for a better understanding of implementing the post-processing stack in Unity.
Conclusion
Using the post-processing effects will make your game projects stand out with enhanced realism and visual ambiance. Try out the effects today!

.avif)
.avif)




.avif)

.avif)
.avif)
.avif)
.avif)

.avif)
.avif)


