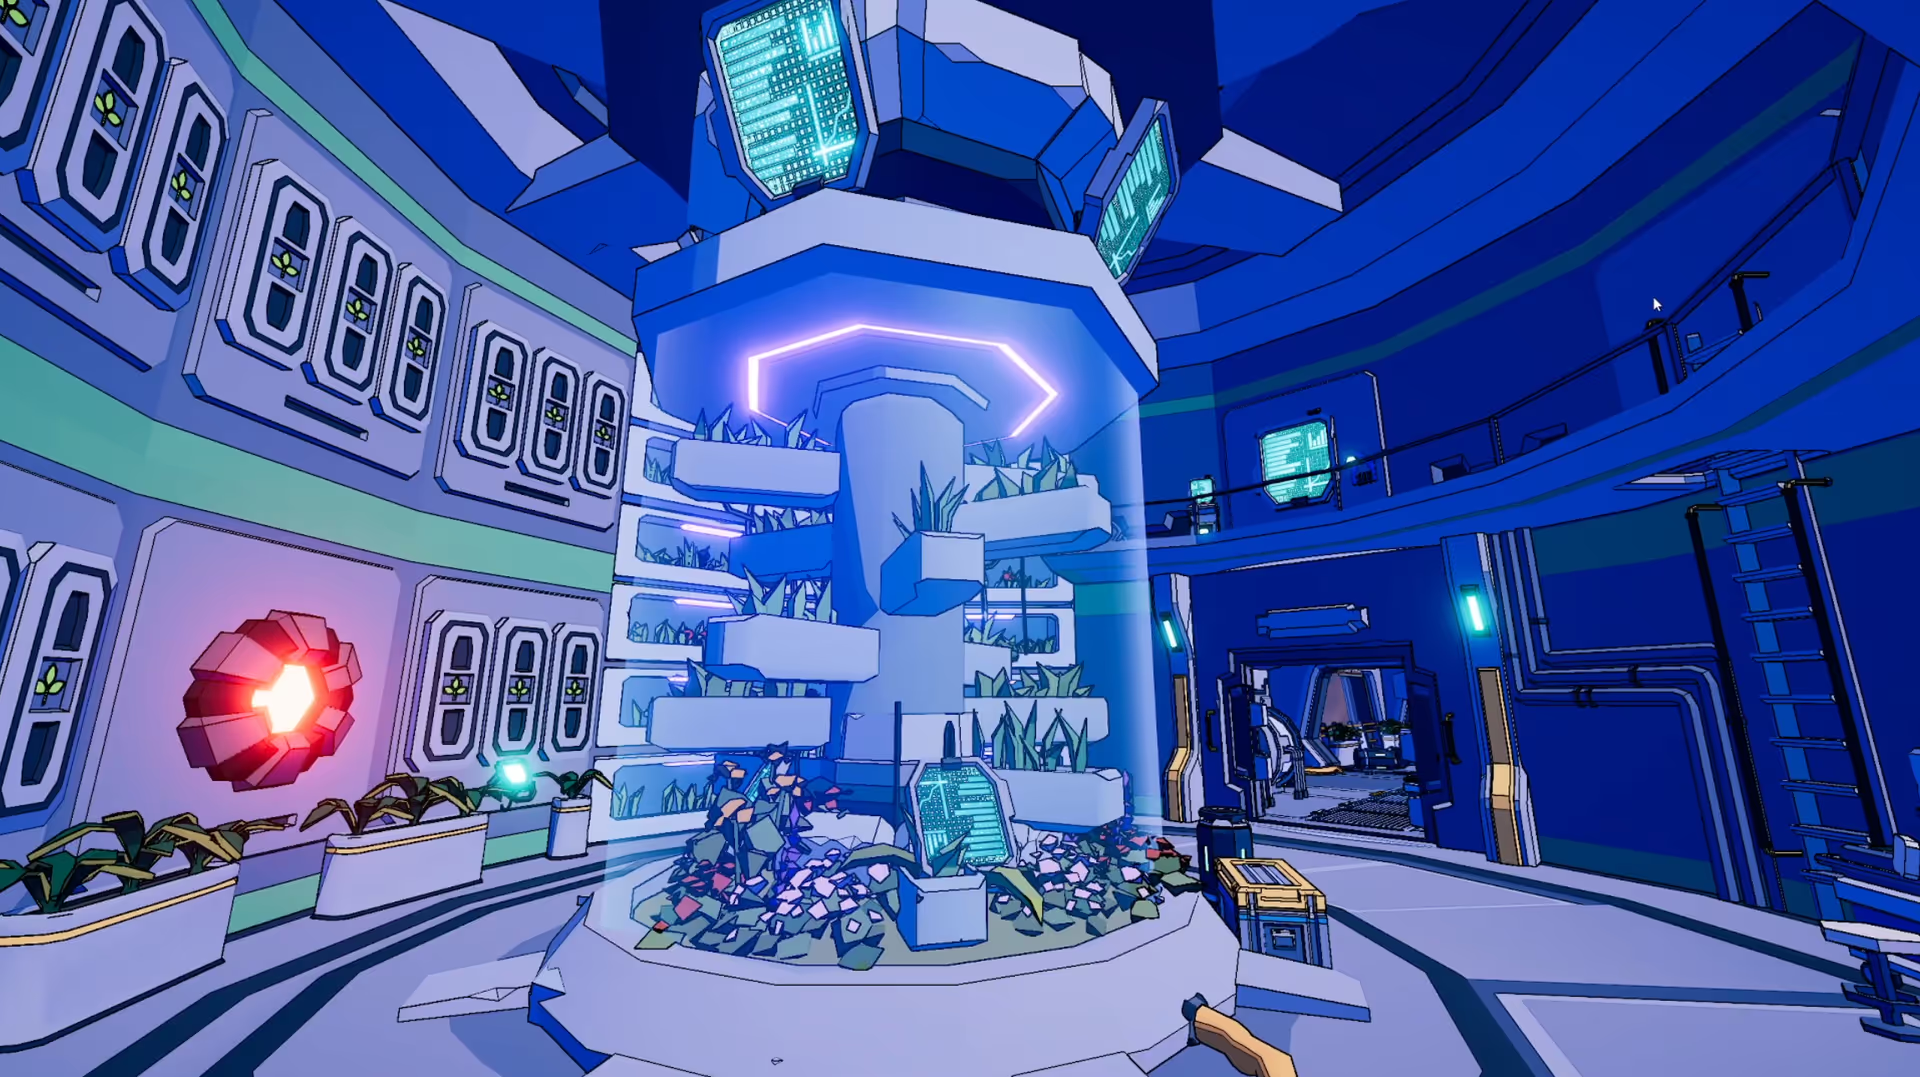
Light Cookies are like ingredients in the kitchen of game development. Game Developers use Light Cookies to improve realism in games.
In this article, you will learn everything you need to know about Light Cookies in Unity.
What are Light Cookies?
Cookies typically referred to as light cookies in general are placed on a light to create a shadow, thereby changing the properties of the light i.e. the appearance and intensity.
Therefore, a light cookie is an image or effect placed in the direction of a light source to alter its appearance and intensity.
They are textures applied to lights to shape the illumination they cast. Using light cookies helps simulate effects like; shadows, shapes, and caustics. It also helps to add a realistic atmosphere to your scene.
What does a Light Cookie do?
Light cookies offer much more than just changing the properties of a light. Here are some examples of use cases for Light Cookies in Unity:
- Simulate caustics: Cookies are capable of creating a mesmerizing effect of illumination on various surfaces.
- Create shadows: They are also capable of crafting soft shadows enhancing the realism of the illumination.
- Create colored light: Cookies can tint the emitted light, changing its appearance and artistic flair.
- Enhance performance: Cookies help in making your game stand out with realistic scenes without dramatically increasing your performance budget.
📄 Resources:
How to create a Light Cookie in Unity?
Creating a light cookie in Unity is very straightforward. Here is a step-by-step guide:
- Create or design a texture. You can design the texture you want to use as the light cookie. Textures can be images, patterns, or effects. You can use any available image editor to create a cookie.
- Import the texture into Unity. Drag the texture file into the Unity Editor. Or, you can save the file to your project’s Assets folder.
- Select the Texture from the Project view and set the Texture Type to “Cookie” in the Inspector window. Also, enable the Alpha from Grayscale.
- Select the Light Type of your choice. This particular property affects the way the cookie is projected by light. It can either be Spotlight or Directional. Spotlight is ideal for creating focused beams while Directional shapes the illumination coming from a specific direction.
- Apply the cookie to a light. Just select the light in your scene to which you want to add the cookie. Then, in the light component’s Inspector, find the Cookie property and drag the texture to this property to apply it.
- Modify the light properties such as the Color and Intensity to achieve your desired visual effect. Also, the Directional light has an additional property – Cookie Size which lets you scale the cookie manually.
- Enter Play mode to preview how the light cookie affects your scene.
📄 Resources:
Useful Tips
Here are some additional tips you can take note of while working with cookies in Unity:
- Incorporate grayscale textures while simulating or representing blocked light.
- Adjust the alpha channels to create varying degrees of transparency and shadows.
- Explore Unity’s community resources and tutorials to discover advanced cookie techniques.
Now, it’s up to you to make good use of what you have learned so far in this article.
Happy creating!

